How to Germinate Seeds Indoors: A Gentle Primer for the Naturalist Gardener
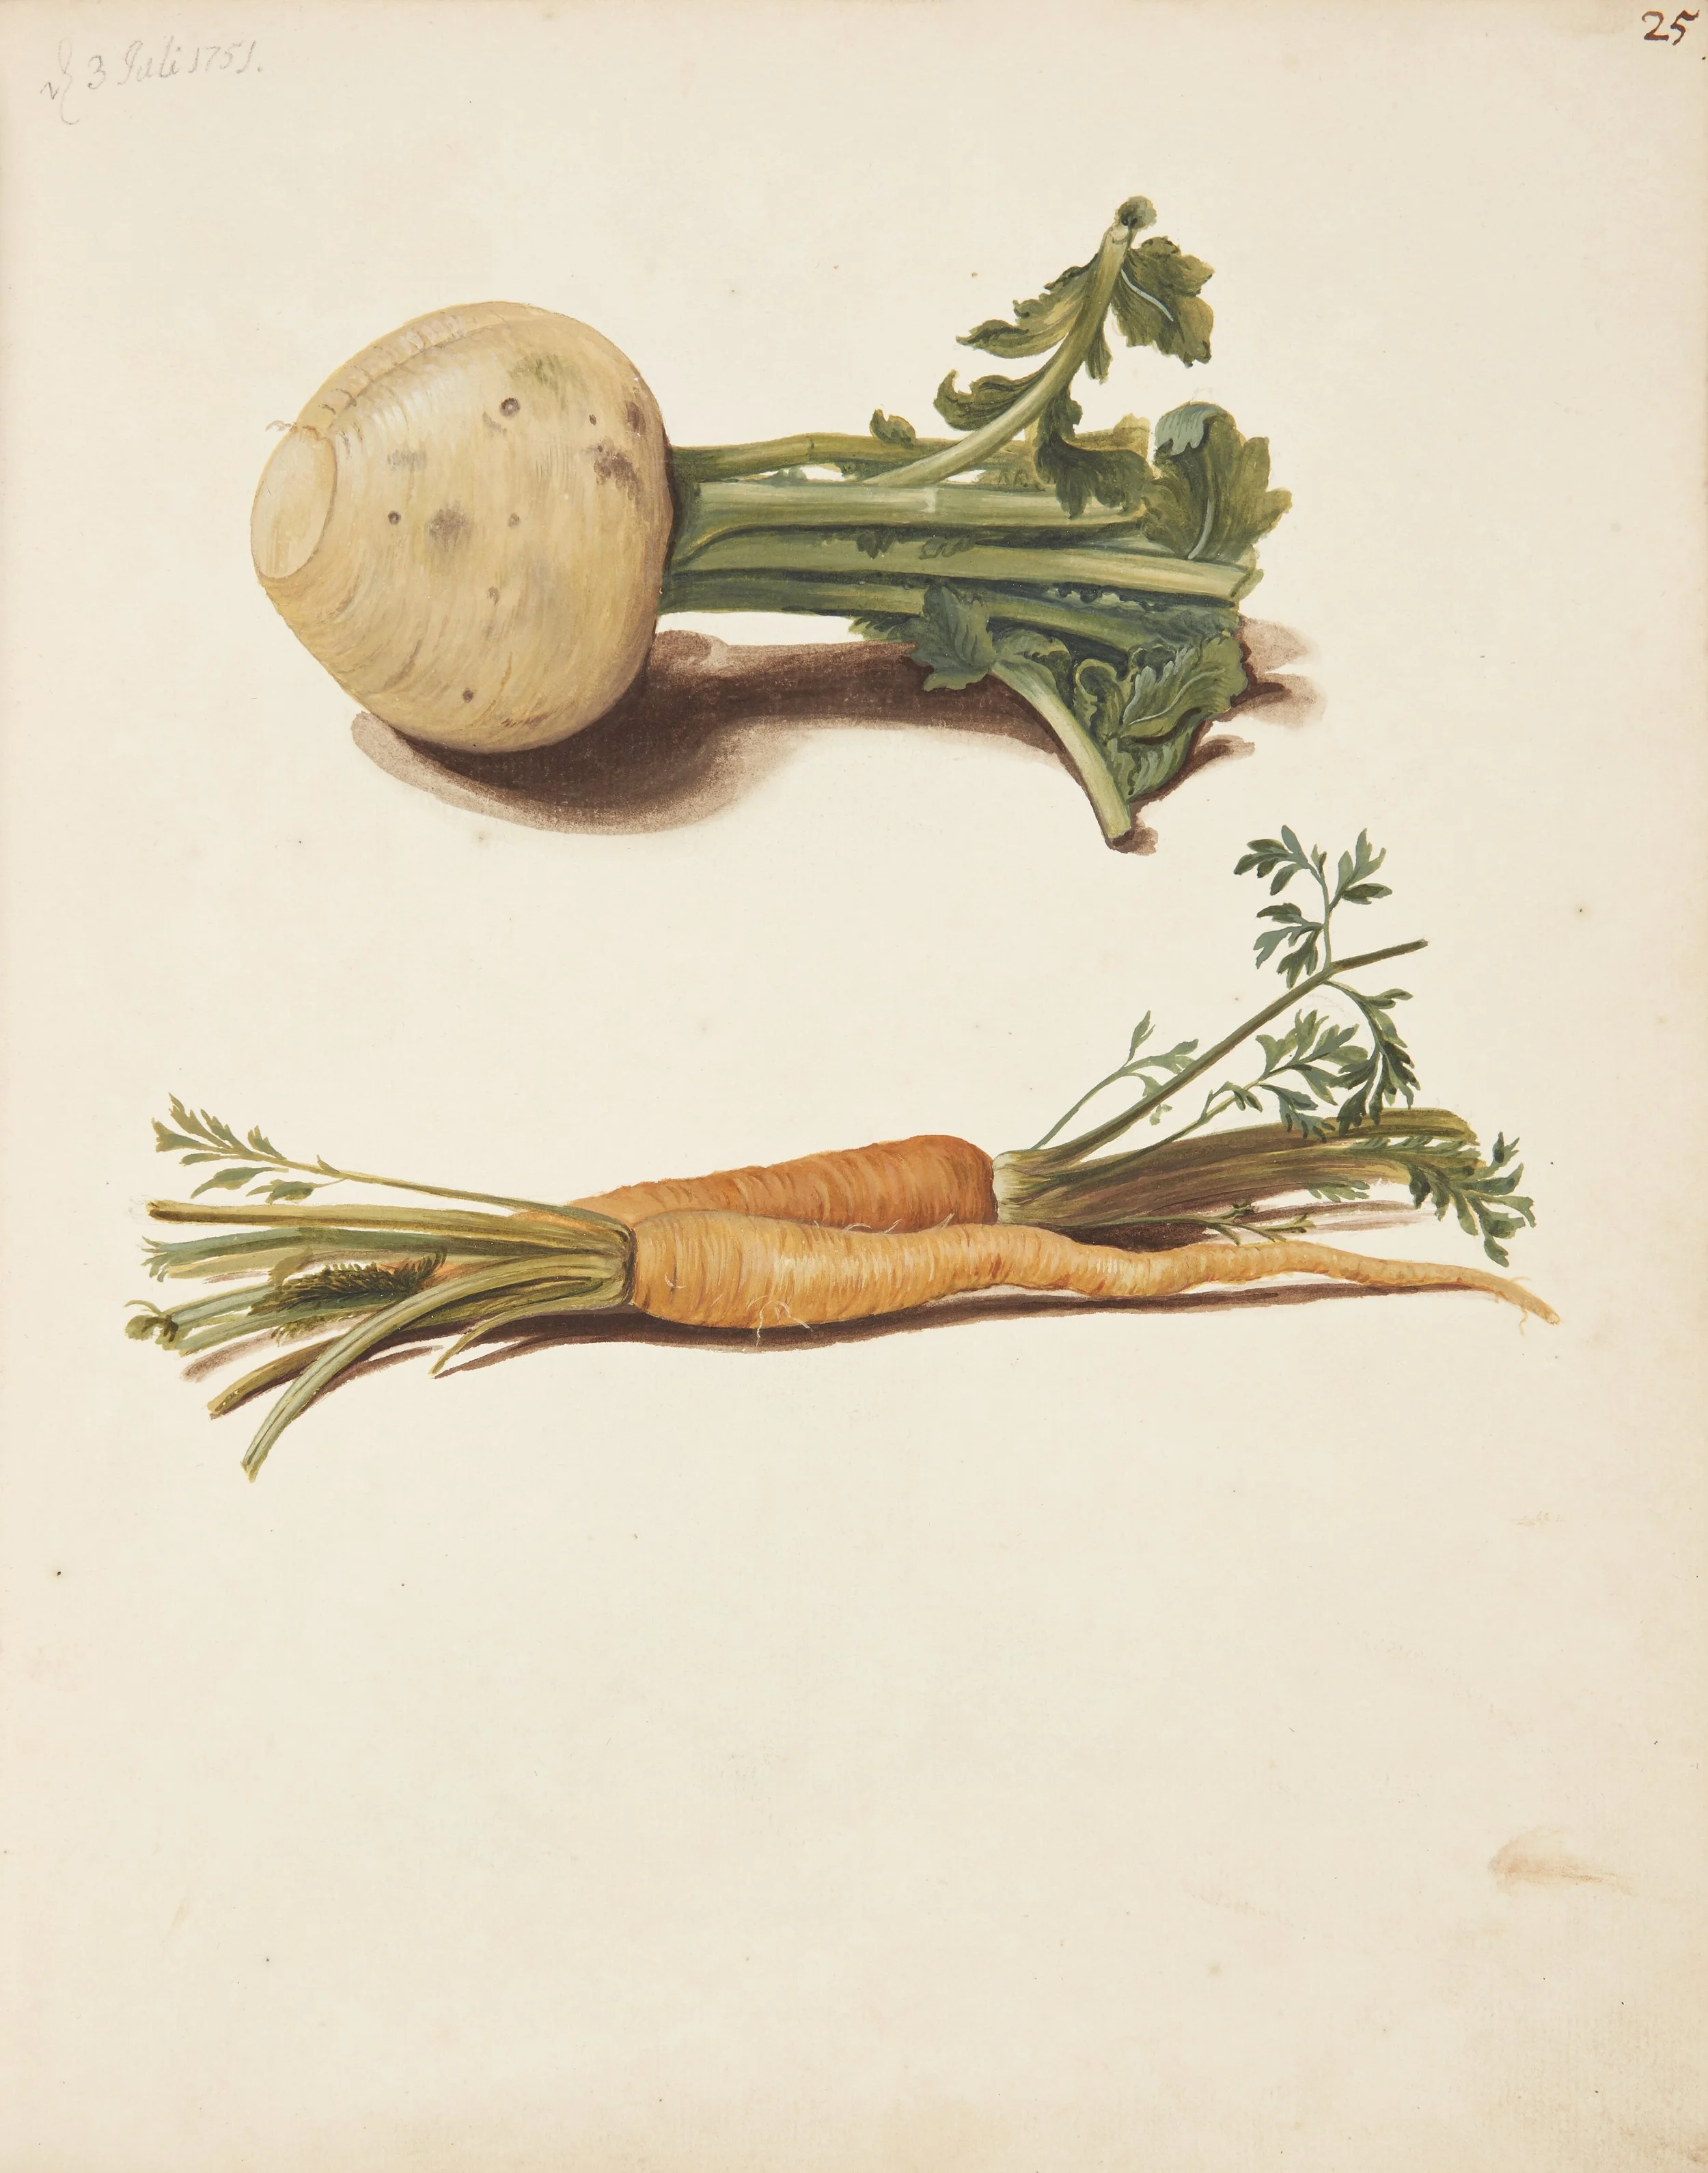
Study of Turnips and Carrots by Johanna Fosie.
The arrival of spring whispers promises of green abundance, but for the gardener, it begins with an act of quiet alchemy: coaxing seeds into life. Germinating seeds indoors allows you to cultivate a head start, transforming windowsills and countertops into small sanctuaries of burgeoning growth. This guide offers practical, low-tech advice for the gardener who prefers ingenuity to expensive gadgets and the natural rhythms of sunlight to artificial grow lights.
1. Select the Right Seeds for Indoors
Start with seeds that thrive in an early indoor incubation—tomatoes, peppers, cabbages, and herbs are excellent candidates. Fast-germinating varieties like lettuce and basil offer near-instant gratification, while heat-loving crops such as squash and beans benefit from a gentle nudge indoors before being transplanted.
2. Craft Homemade Seed Pots
Repurposing household materials for seed-starting containers is both economical and sustainable:
Newspaper pots: Roll strips of newspaper around a small can or glass, fold the bottoms inward, and press firmly. These biodegradable pots can be planted directly into the soil.
Egg cartons: Each compartment is a ready-made mini-pot. Snip apart the cups when transplanting to keep roots undisturbed.
Toilet paper rolls: Cut them in half and stand upright on a tray. These are perfect for deep-rooted seedlings like peas and beans.
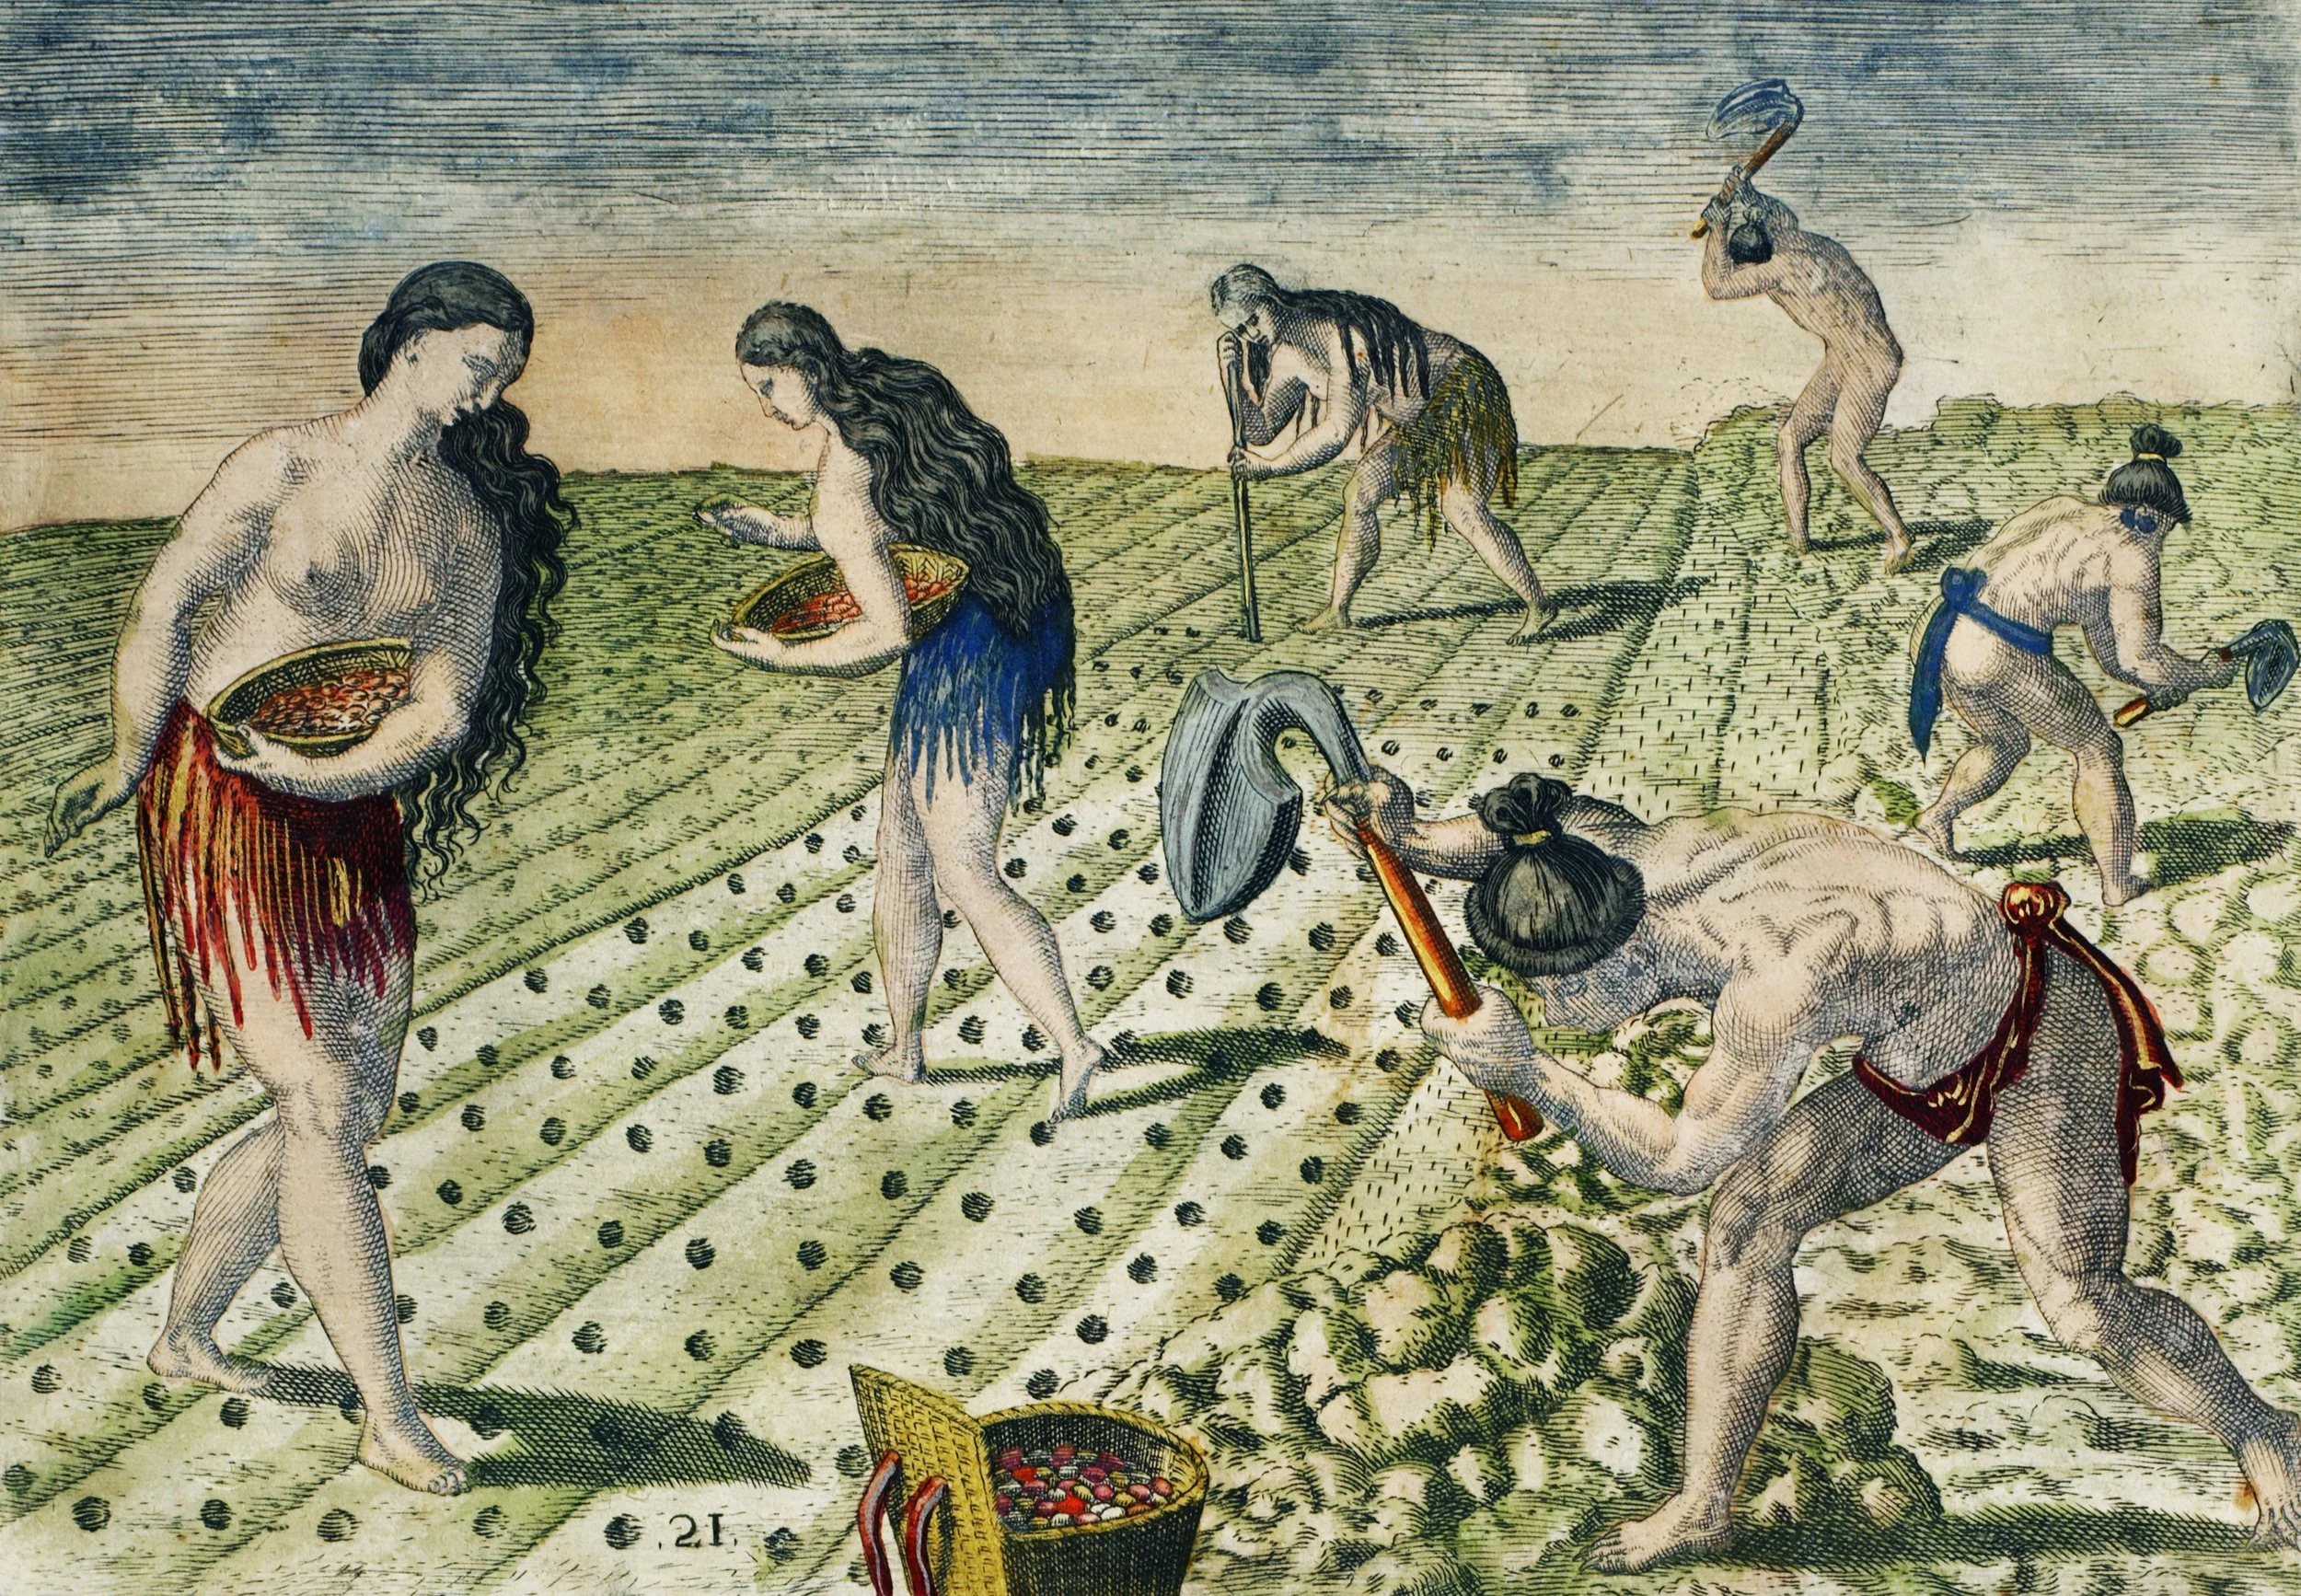
How They Till the Soil and Plant from Grand Voyages by Theodor de Bry.
3. Use the Right Soil
Seeds require a lightweight, well-draining medium to germinate. Create your own mix by combining equal parts of coconut coir or peat moss, compost, and perlite or sand. Avoid heavy garden soil, which may suffocate fragile seedlings.
4. Pre-soak Seeds
For seeds with hard shells—like squash, beans, or parsley—soak them in warm water for 12–24 hours before planting. This softens the seed coat and accelerates germination.
5. Ensure Proper Drainage
Punch small holes into the bottoms of containers to prevent waterlogging. Place pots on a tray or shallow dish to catch excess water.
Side of a Greenhouse by George Cochran Lambdin.
6. Simulate a Greenhouse Effect
Cover your seed pots with plastic wrap, a clear plastic bag, or even the dome from a takeout container. This retains moisture and warmth, essential conditions for germination. Remove the cover as soon as seedlings appear to prevent mold.
7. Find a Sunny Windowsill
A south-facing window is your best ally. Rotate your pots daily to ensure even growth as seedlings reach toward the light. If sunlight is scarce, supplement with a reflective surface like aluminum foil or a mirror positioned behind the plants.
8. Water Wisely
Use a spray bottle or a small watering can to keep the soil moist but not waterlogged. Seeds prefer consistent humidity during germination; uneven watering can cause them to dry out or rot.
9. Mind the Temperature
Most seeds germinate between 65–75°F. If your home is drafty, place pots on top of a refrigerator or near a radiator. Alternatively, use an old heating pad on its lowest setting.
10. Label Everything
Seedlings often look alike in their early stages. Use popsicle sticks, strips of masking tape, or small cards to label each pot with the seed variety and planting date.
11. Practice Patience
Some seeds sprout within days, others may take weeks. Consult your seed packets for typical germination times, and resist the urge to disturb the soil in a fit of curiosity.
12. Thin Seedlings Gently
Once your seedlings have sprouted their first true leaves, thin them out by snipping weaker seedlings at soil level. This prevents overcrowding and allows the strongest plants to thrive.
13. Acclimate Before Transplanting
Harden off your seedlings before planting them outdoors. Over a week, gradually expose them to outdoor conditions—start with an hour of filtered sunlight, then increase their time outside each day.
14. Reuse and Reimagine
For large-scale planting, use shallow cardboard boxes or plastic trays as seedbeds. Yogurt cups, milk cartons, and tin cans also serve as excellent pots when sterilized and punctured for drainage.
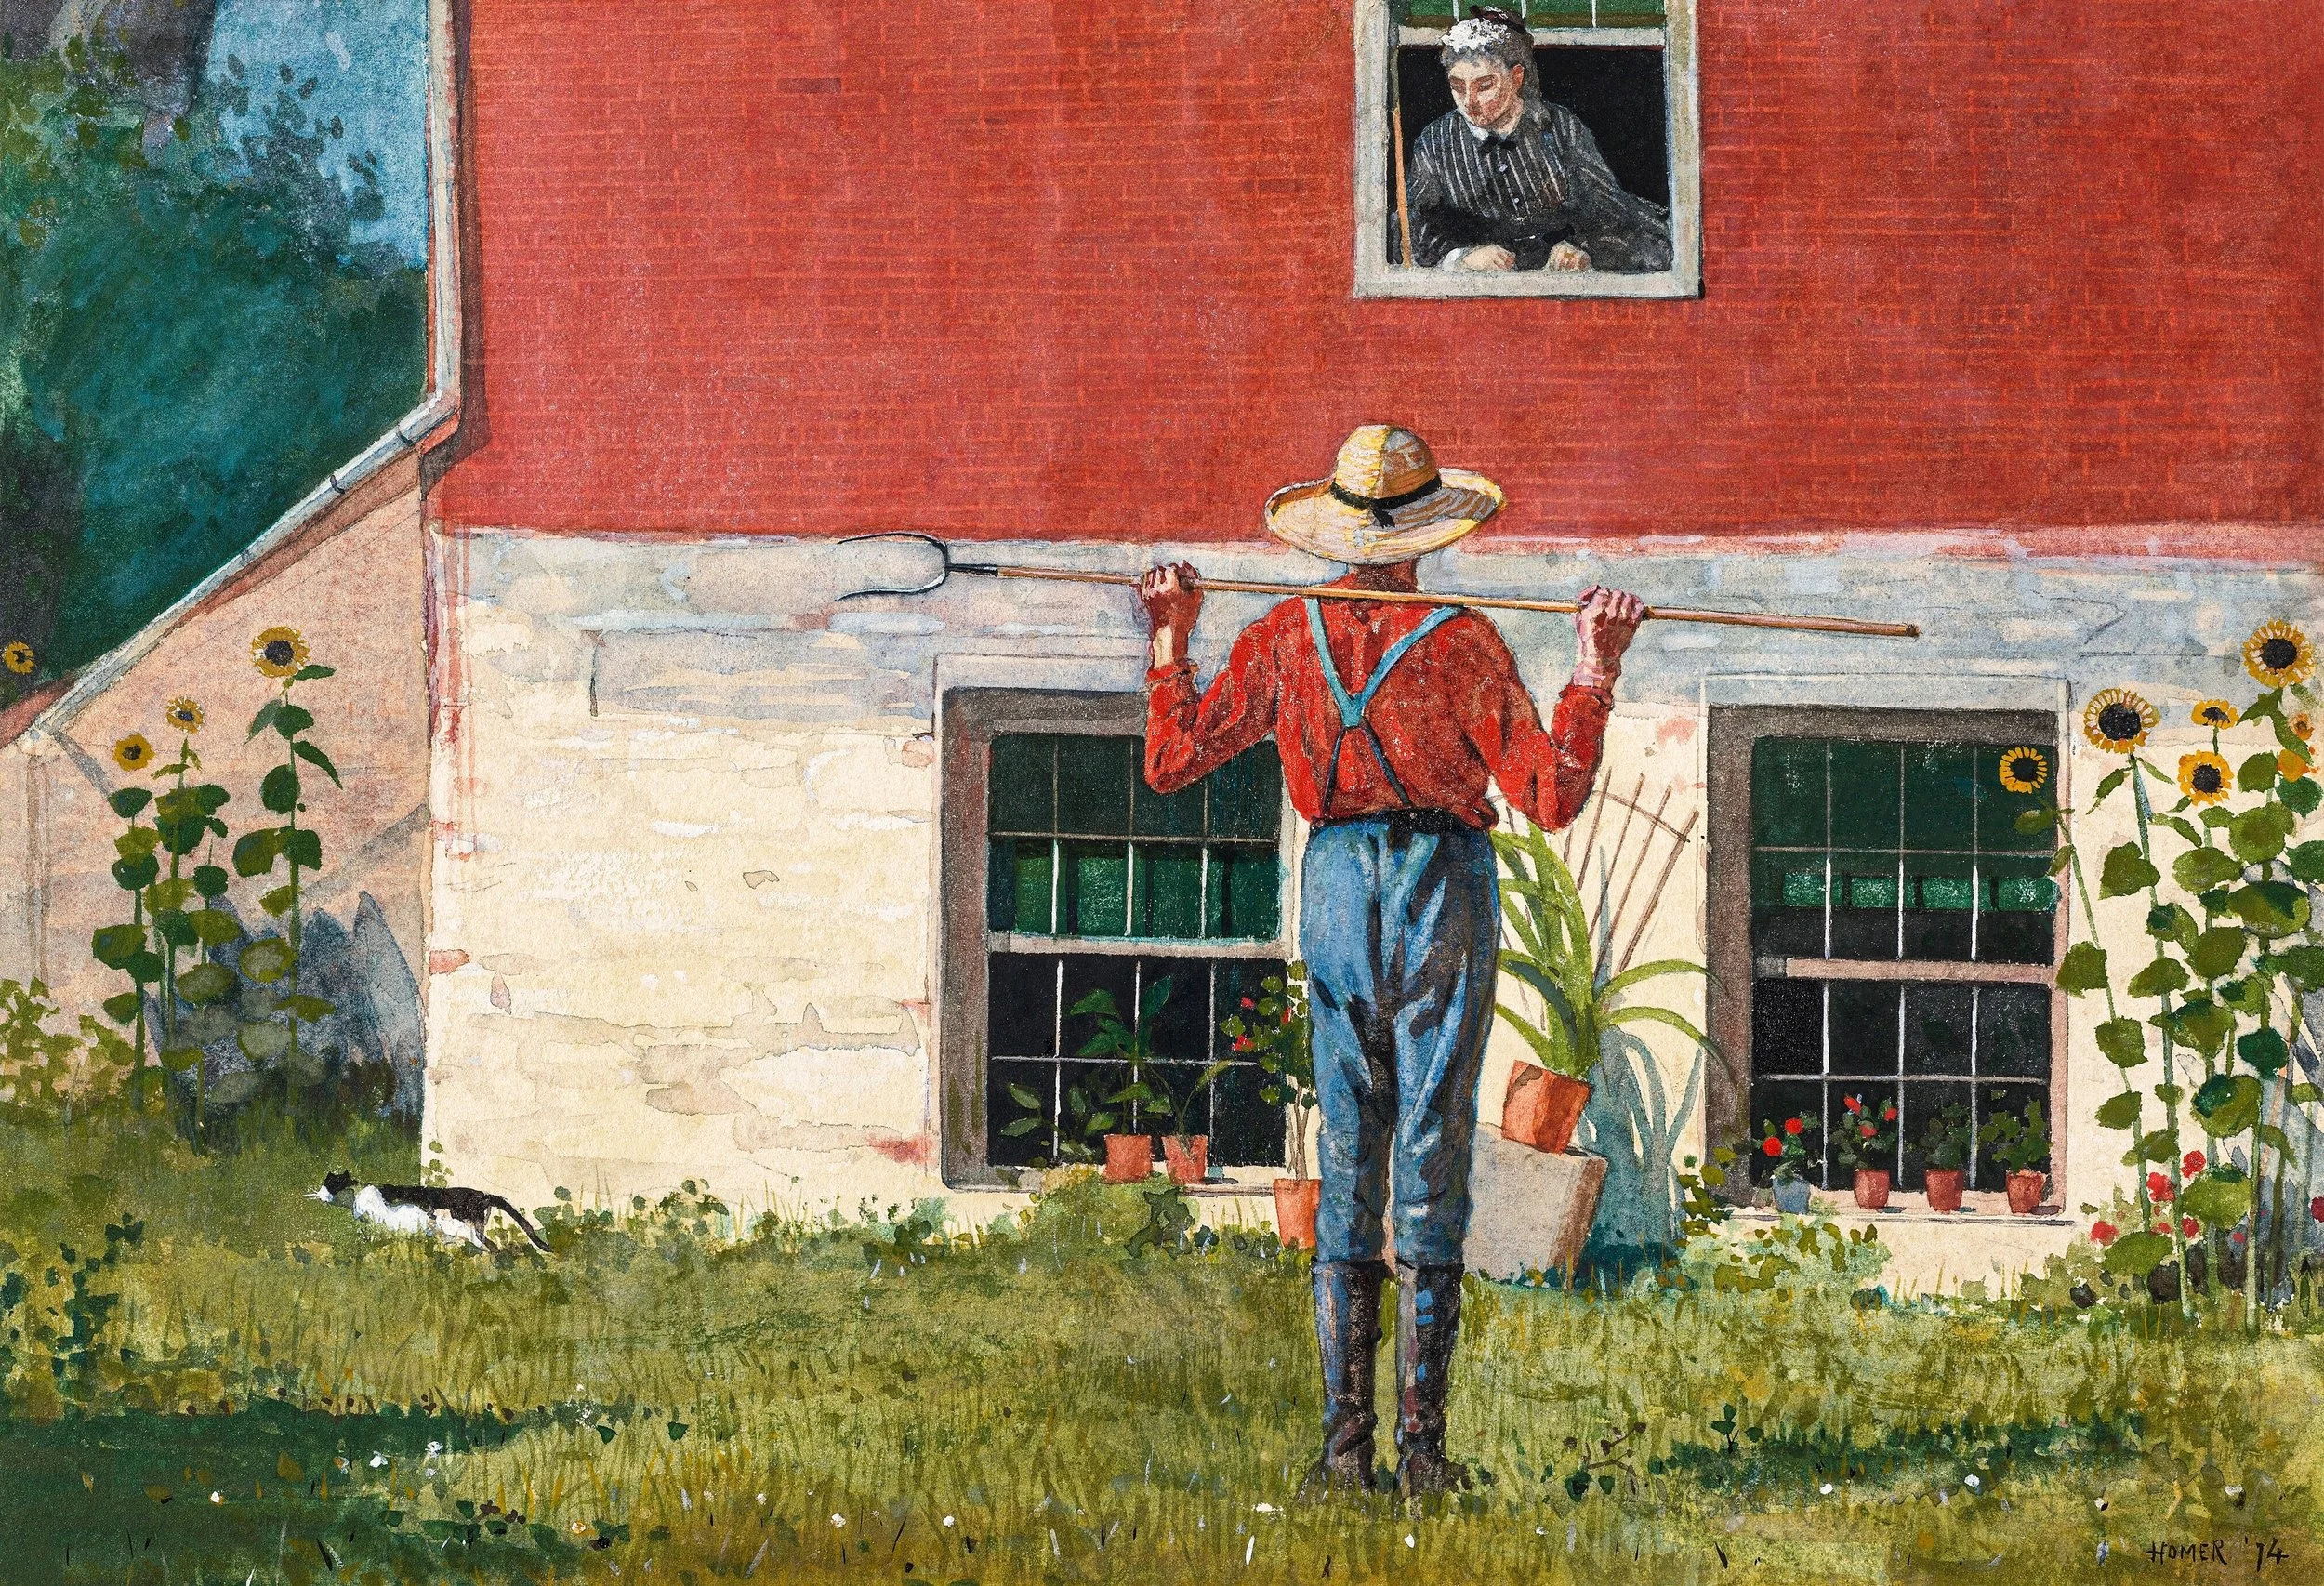
In the Garden by Winslow Homer.
15. Avoid Overcrowding
Plant one or two seeds per small pot to avoid root entanglement. Larger pots can accommodate more seeds, but be vigilant about spacing.
16. Compostable Containers
Consider pots made from compressed cow manure or coconut husks, available online or at garden centers. These can be planted directly into the soil, enriching it as they decompose.
Man Writing a Letter by Gabriël Metsu.
17. Keep Notes
Document your successes and failures. Knowing what germinated and what didn’t—along with conditions like sunlight, water, and soil type—will refine your methods for future seasons.
18. Embrace the Imperfect
Not every seed will sprout, and not every sprout will thrive. Gardening, like writing or art, is as much about the process as the product. Relish the small triumphs—a seedling’s first tiny leaves, the smell of damp soil on your fingers.
19. Share the Abundance
If you find yourself with an embarrassment of riches—too many seedlings and not enough garden space—share the surplus with neighbors or community gardens.
20. Dream Bigger
Seed-starting indoors is more than a preparatory act; it is an act of hope. As you water your seedlings and turn them toward the light, you are nurturing a future harvest. Each tiny pot on your windowsill holds not just the promise of spring, but the possibility of abundance, self-reliance, and joy.
The gardener’s craft is one of patience, ingenuity, and quiet rebellion against the ephemeral. Start your seeds this spring with care, and let them remind you of life’s enduring cycles.


